MORGAN RC

A division of www.morganmill.com
PHASE 3 SQUALL
PERFORMANCE PARTS
PERFORMANCE PARTS
Introducing our first after-market part family for the Phase 3 Squall.
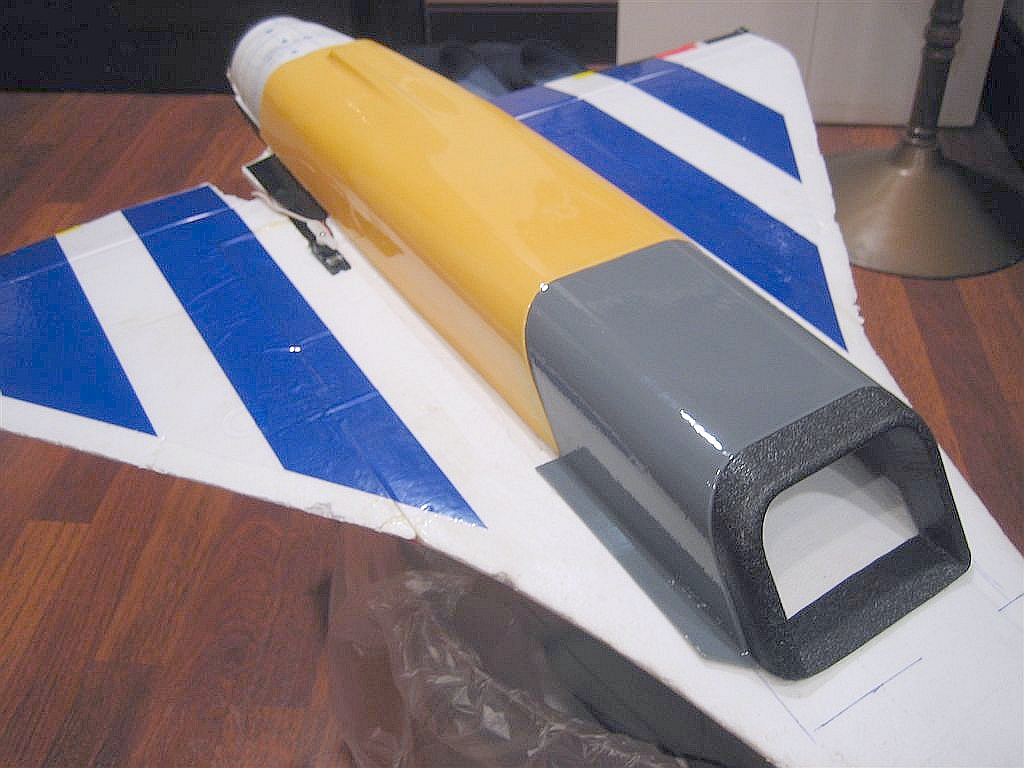
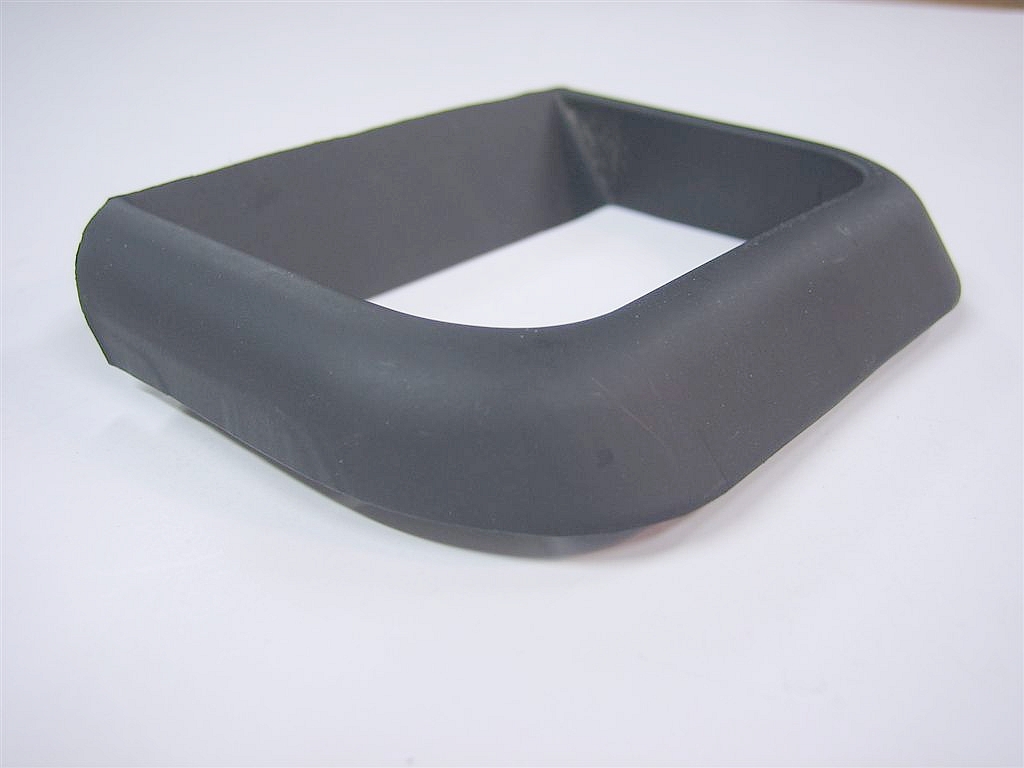
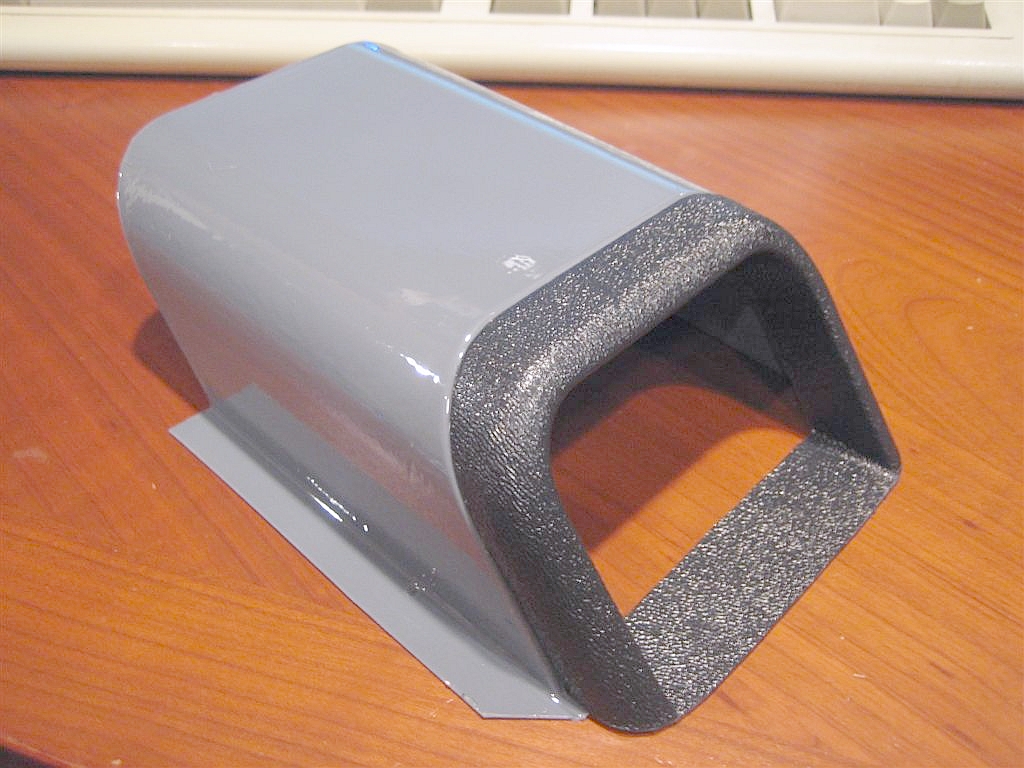
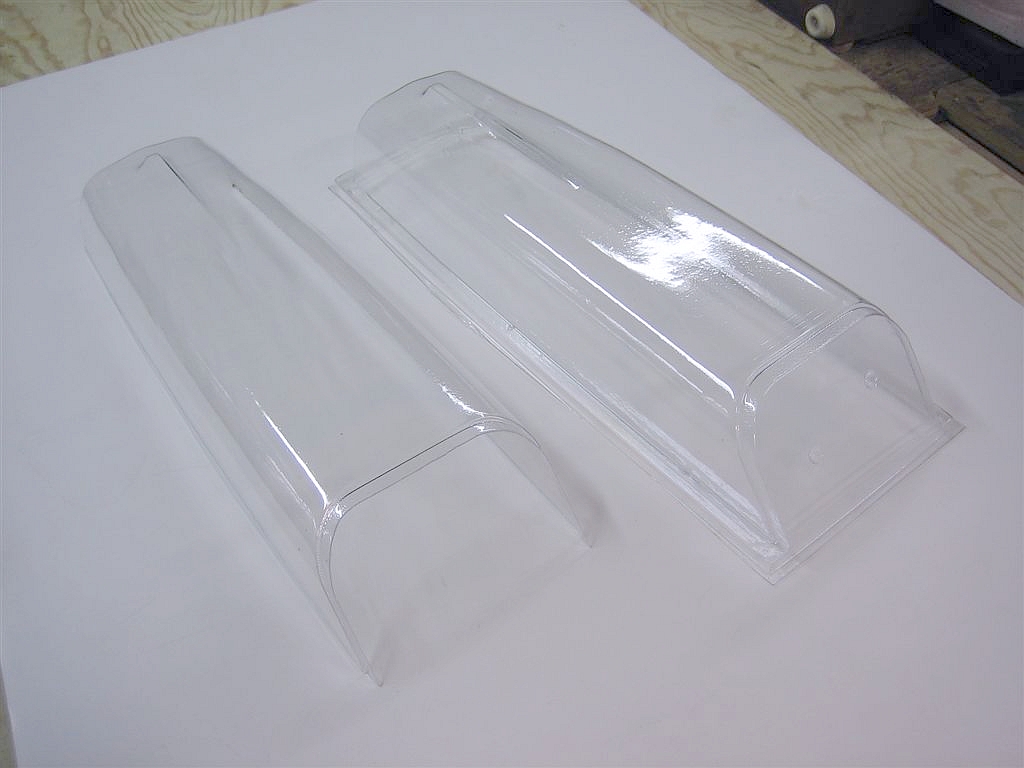
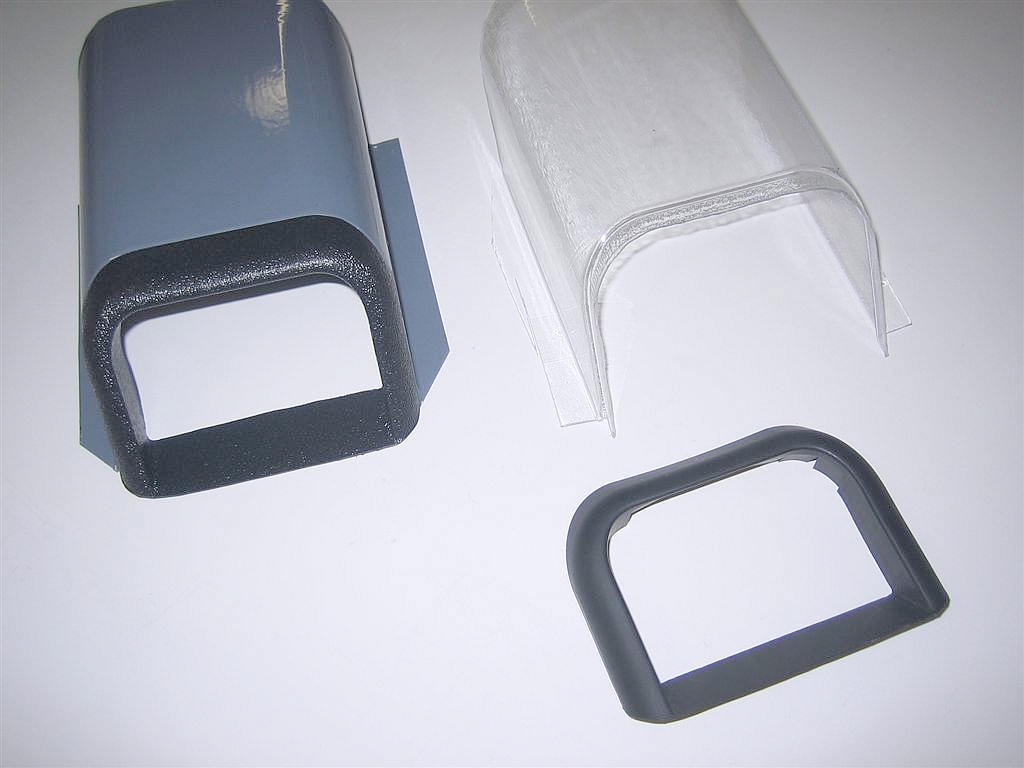
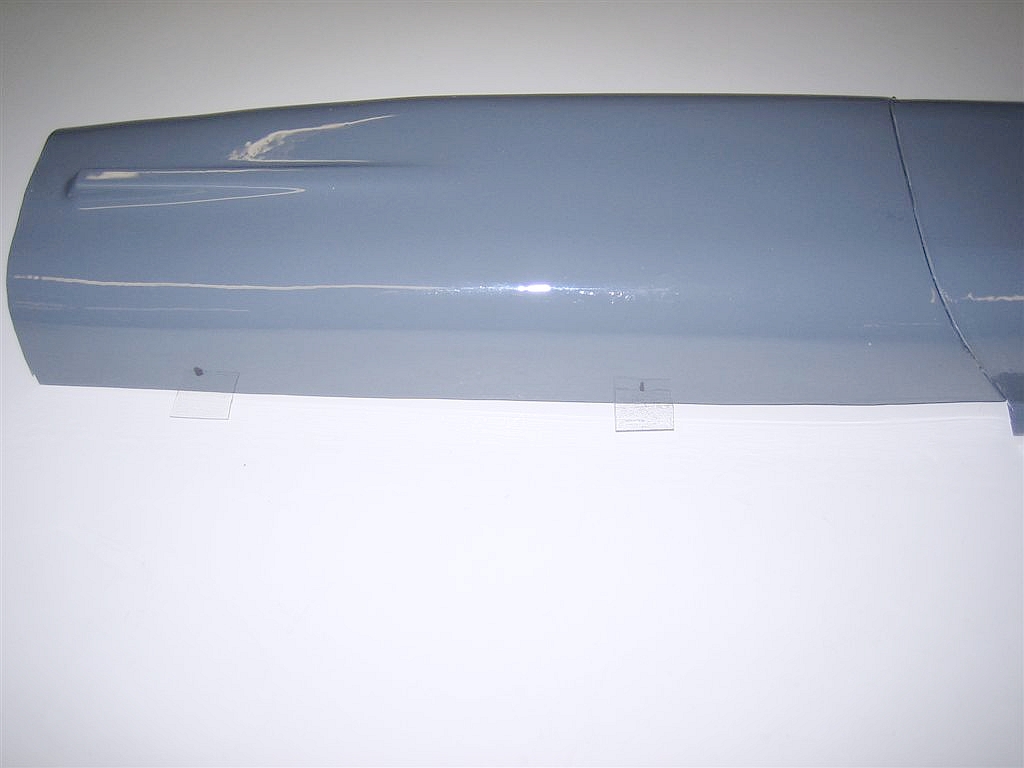
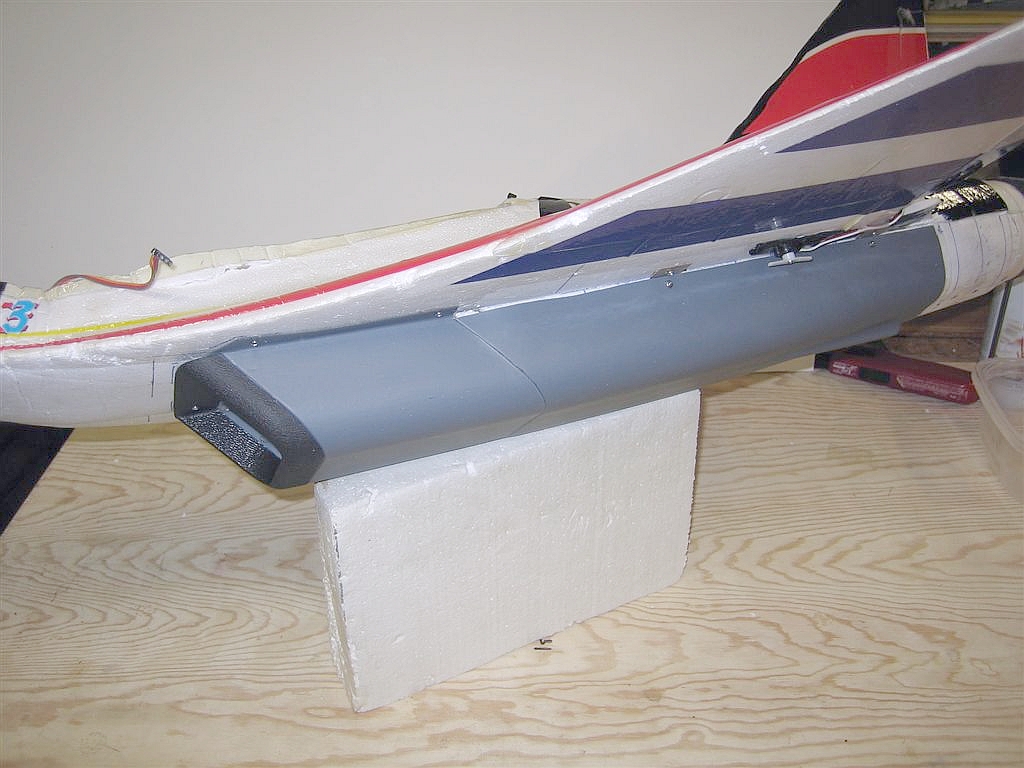
This Belly Pan is screw-on protection for the foam Belly Pan and the fragile edges of the intake area. It incorporates three integral parts, the standard length main cover or Belly Pan, the extension and the intake lip.
The main focus of this upgrade is to create a surface tough enough to take less than stellar landings in stride time after time, increase the landing slide or roll out characteristics and be removable for motor compartment servicing. It can be used with an existing aircraft or a brand new kit.
If your pan is already glued on just fit this kit over it and youre as protected as you can be!
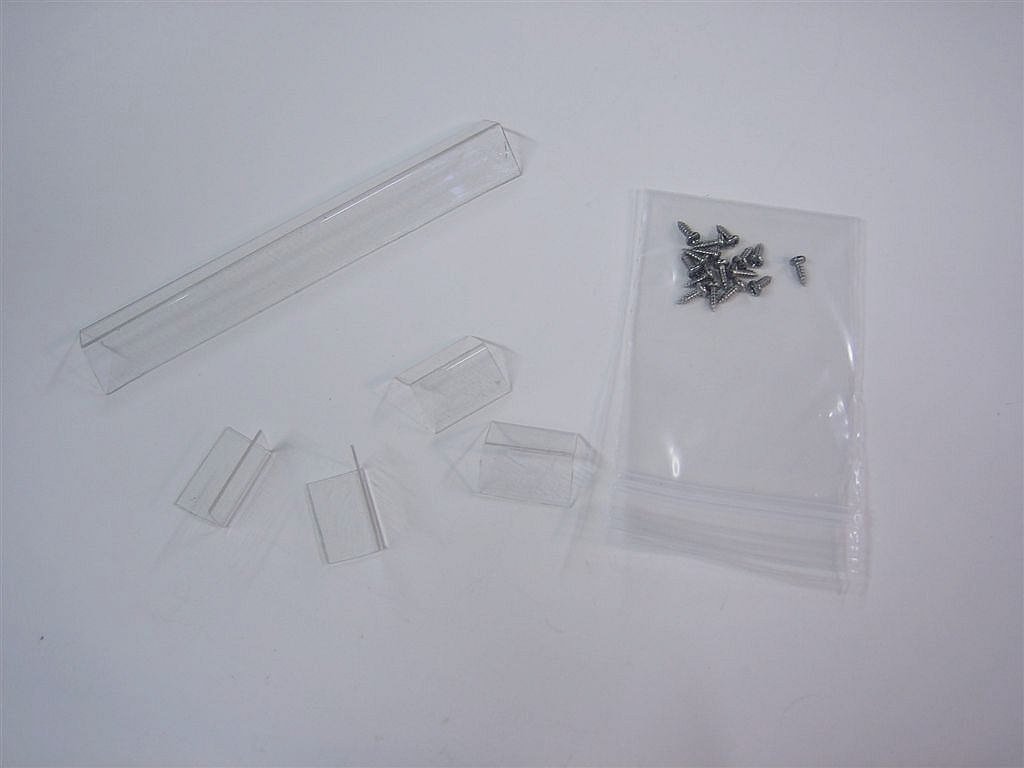
Specs:
Belly Pan: .030 Clear PetG - 41 grams.
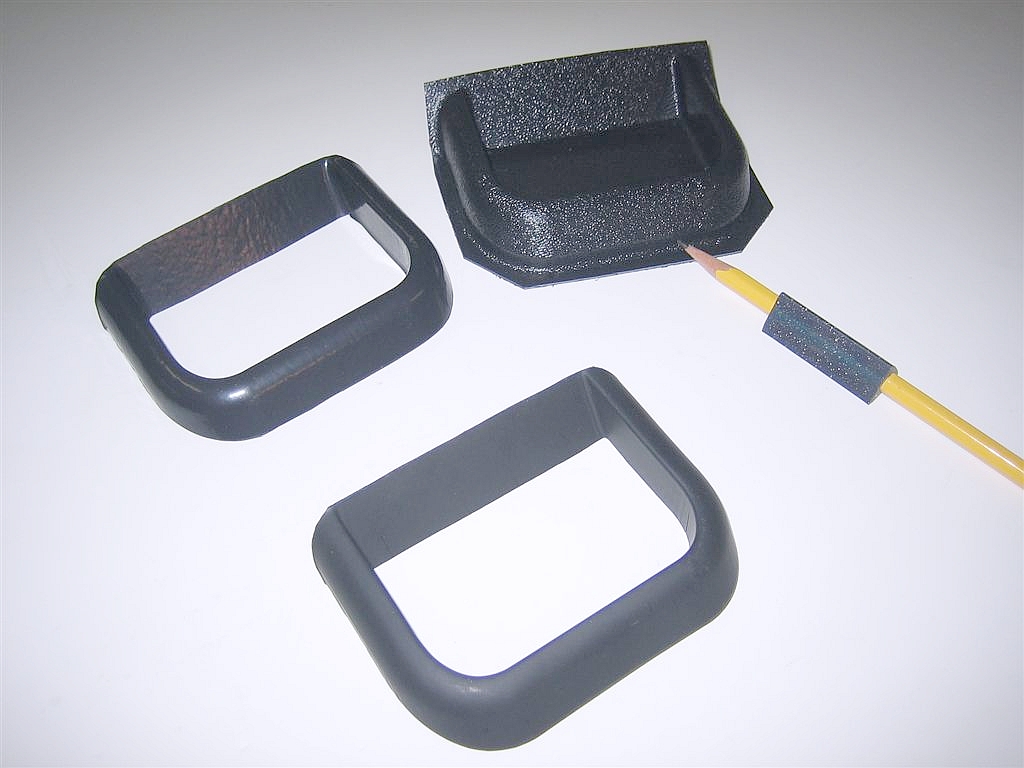
Intake lip: .030 Black ABS Hair Cell - 7 grams.
Front Extension: .060 Clear PetG - 29 grams.
Support parts included:
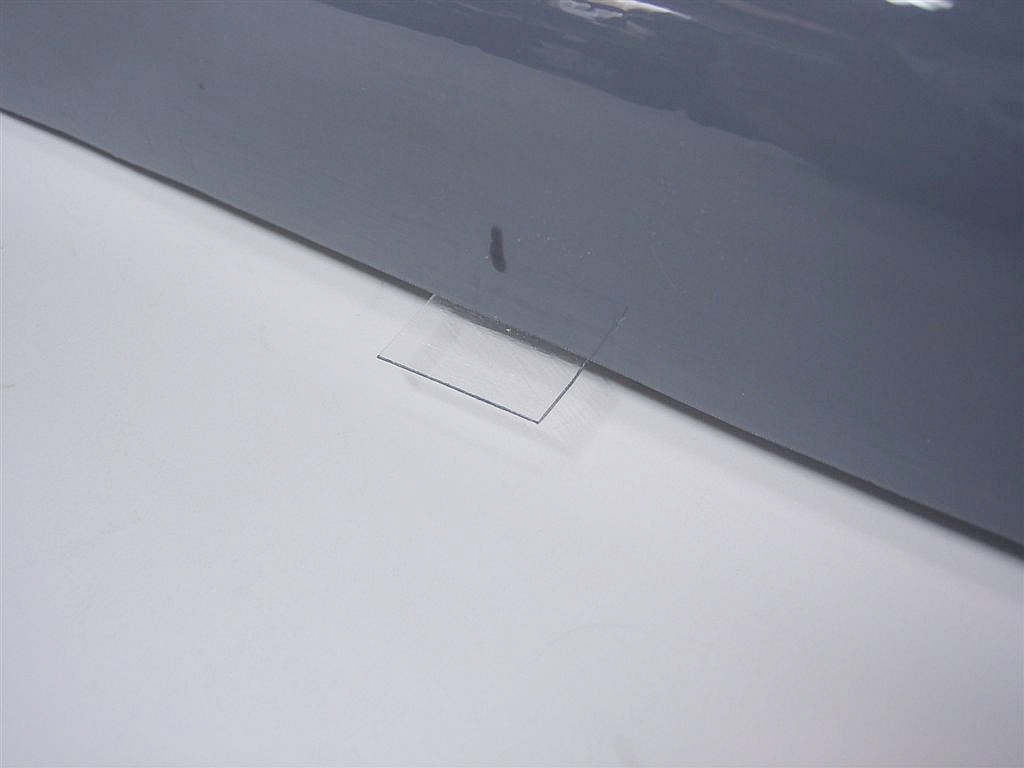
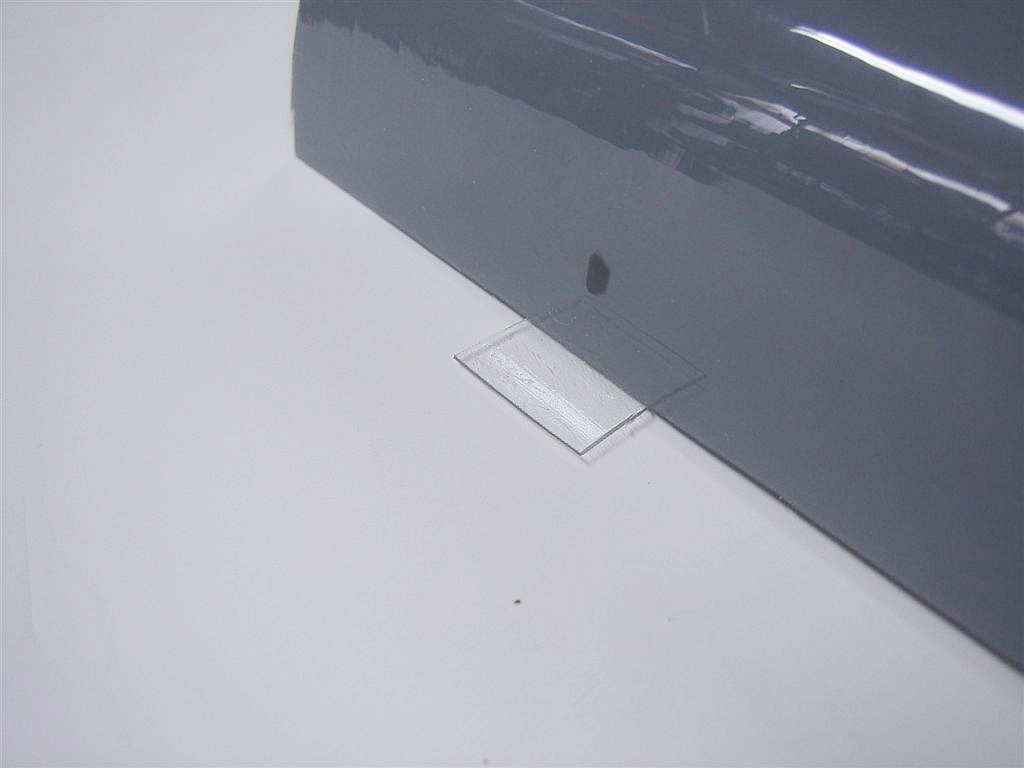
4 - 3/4 angle brackets (.030 PetG) for fuse attachment.
14 Screws.
Belly Pan: .030 Clear PetG - 41 grams.
Intake lip: .030 Black ABS Hair Cell - 7 grams.
Front Extension: .060 Clear PetG - 29 grams.
Support parts included:
4 - 3/4 angle brackets (.030 PetG) for fuse attachment.
14 Screws.
Required tools and supplies:
Short blade scissors for turning corners while cutting plastic.
Hot glue gun - use high setting. Dremel tool with mini sanding barrel. Not necessary - but makes things a lot easier. Double sticky back carpet tape.
10 - 1/2"x 3/4" pieces of lite ply. 1/16 - 1/8 thick.
Short blade scissors for turning corners while cutting plastic.
Hot glue gun - use high setting. Dremel tool with mini sanding barrel. Not necessary - but makes things a lot easier. Double sticky back carpet tape.
10 - 1/2"x 3/4" pieces of lite ply. 1/16 - 1/8 thick.
Installation Notes:
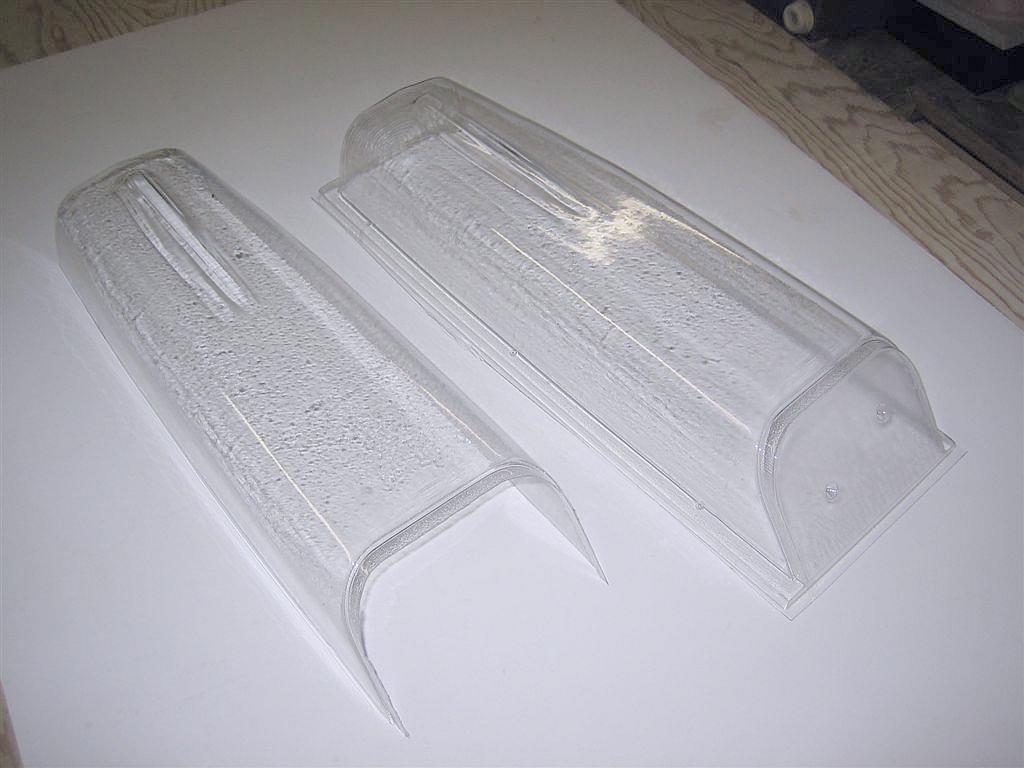
The parts will come to you in rough cut form - it will be necessary to finish trim them for final fit.
The parts will come to you in rough cut form - it will be necessary to finish trim them for final fit.
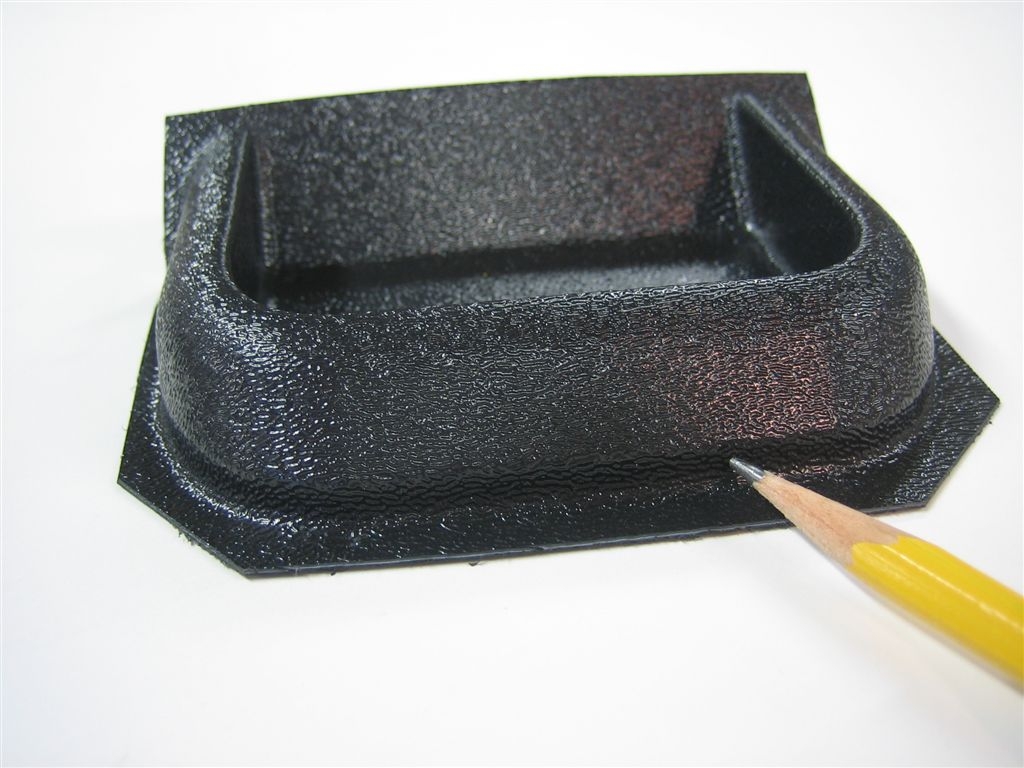
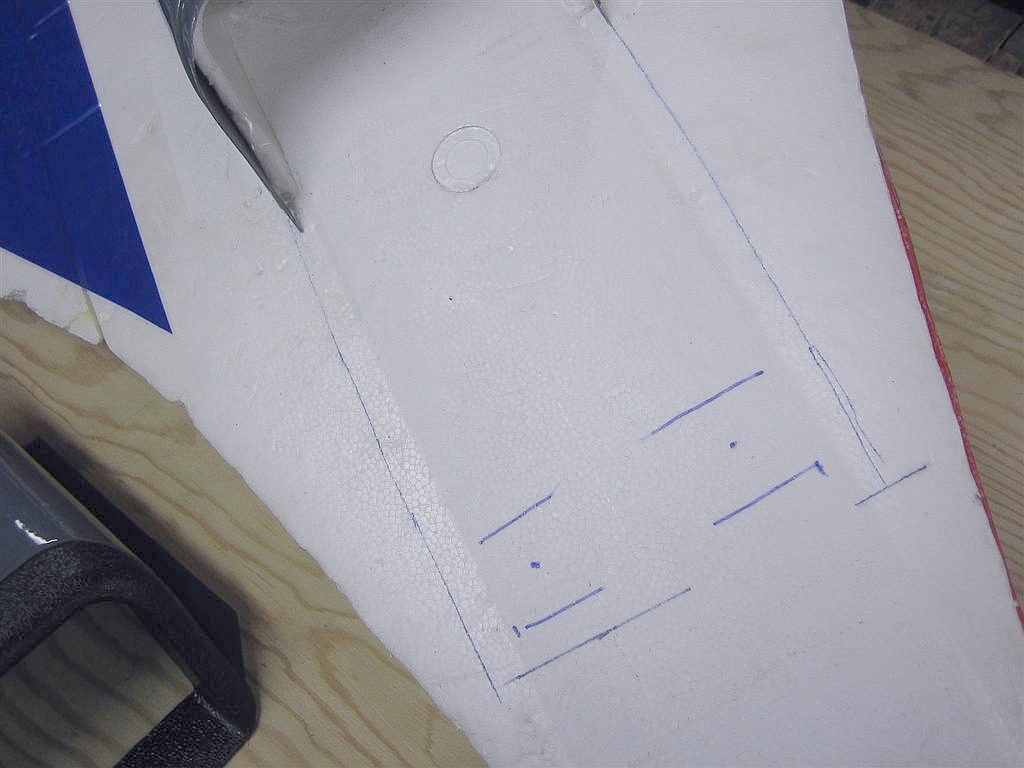
Please note - the tip of the pencil is the line you cut - follow it around to the back in a straight line.
Installation instructions:
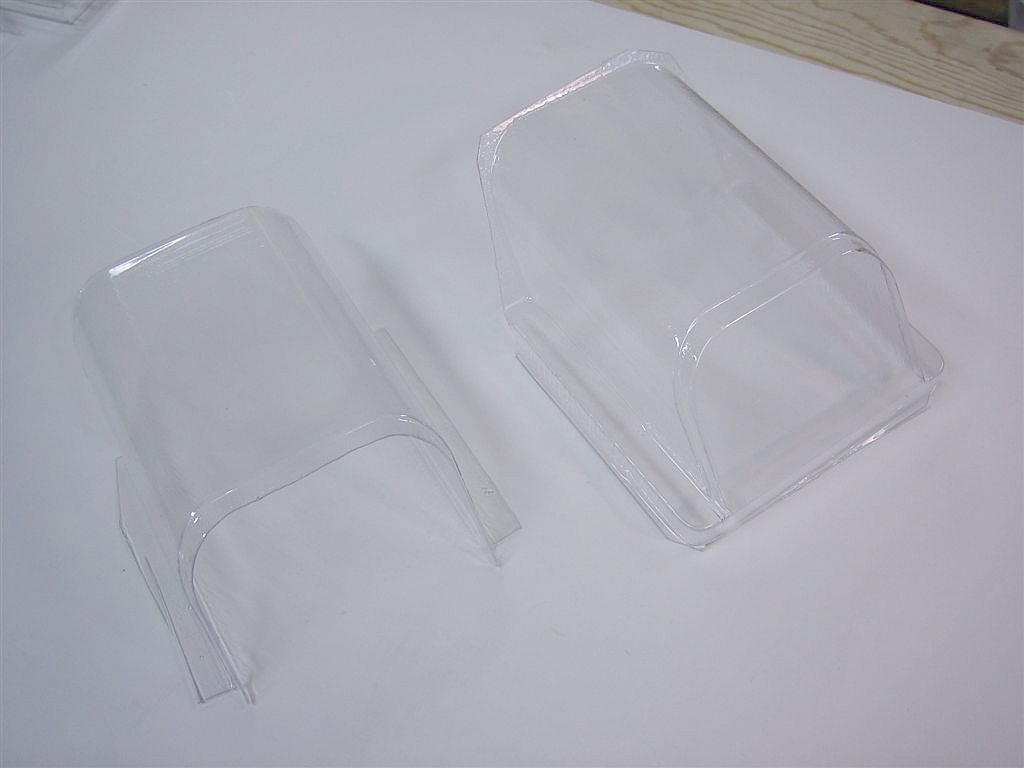
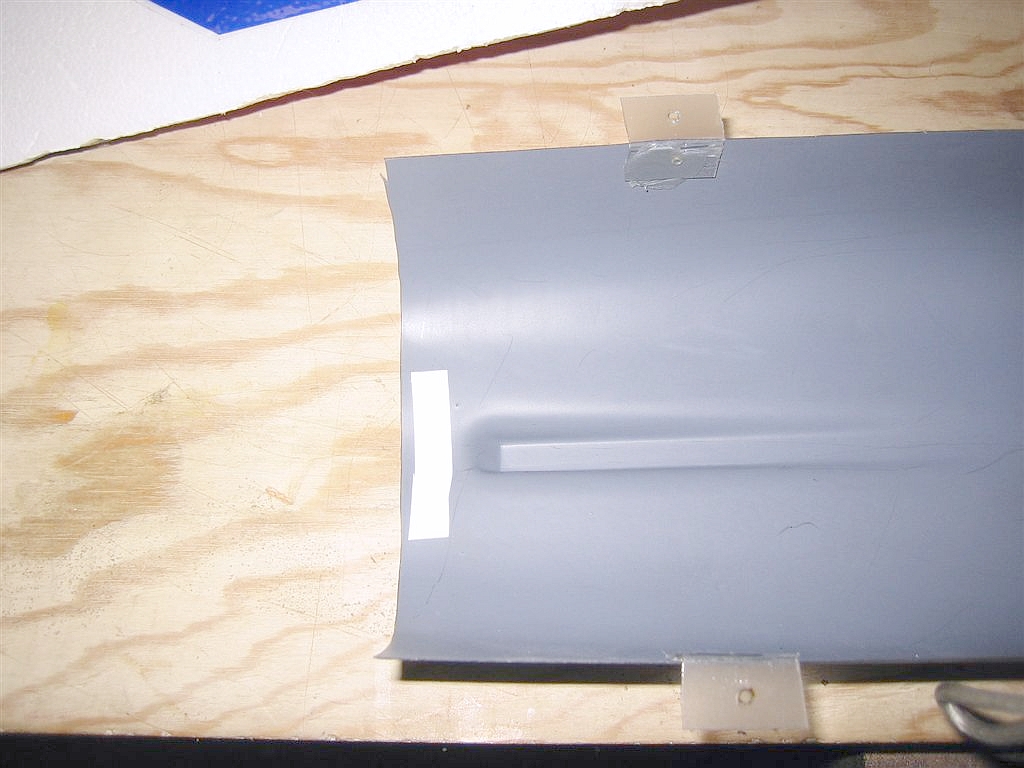
First cut the parts from the pieces you receive. Scissors work well - the lip and Belly Pan are relatively easy to cut. The Extension is a little tougher as it needs to be thicker to handle the weight of the plane on landing.
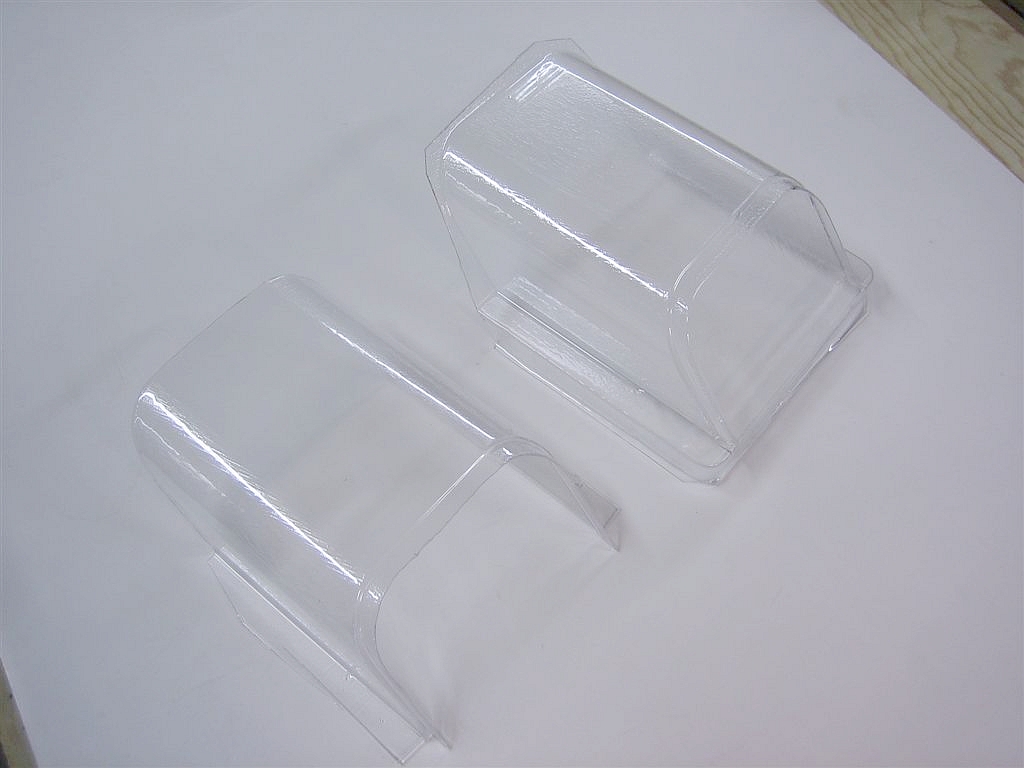
This is where you will benefit from the Dremel tool to smooth the cut edges of the .060 Extension plastic. Get all the parts looking like the ones in the pictures above and below. Remember to make a relief cut in the corner of the Intake Lip so it will sit down nicely inside the extension.
First cut the parts from the pieces you receive. Scissors work well - the lip and Belly Pan are relatively easy to cut. The Extension is a little tougher as it needs to be thicker to handle the weight of the plane on landing.
This is where you will benefit from the Dremel tool to smooth the cut edges of the .060 Extension plastic. Get all the parts looking like the ones in the pictures above and below. Remember to make a relief cut in the corner of the Intake Lip so it will sit down nicely inside the extension.
Assembly of Parts:
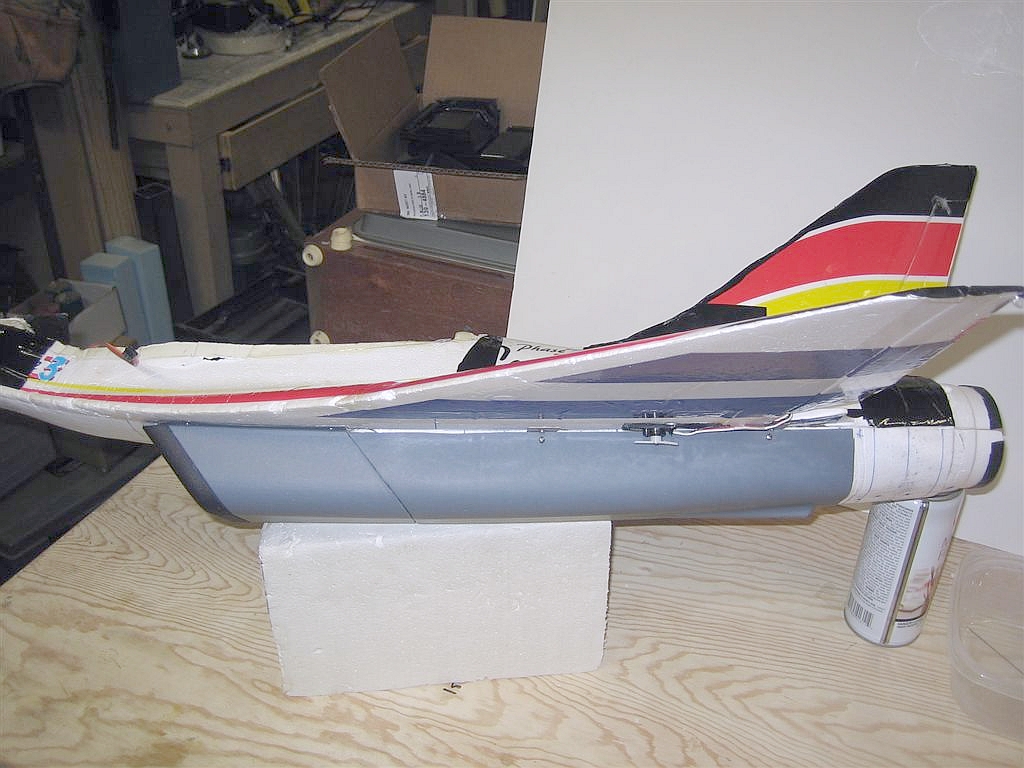
Cut the pan such that its flush with the top of the foam pan leaving just a small amount exposed to clear the trough in the main fuse.
Glue the Intake Lip to either the stock length Belly Pan or the Extension (depending on the combo or kit you purchased) with hot glue at the interlocks / lap joint. Paint is a consideration at this ponit for the extension and the Belly Pan. Make sure to install the brackets on raw sanded plastic - not over paint.
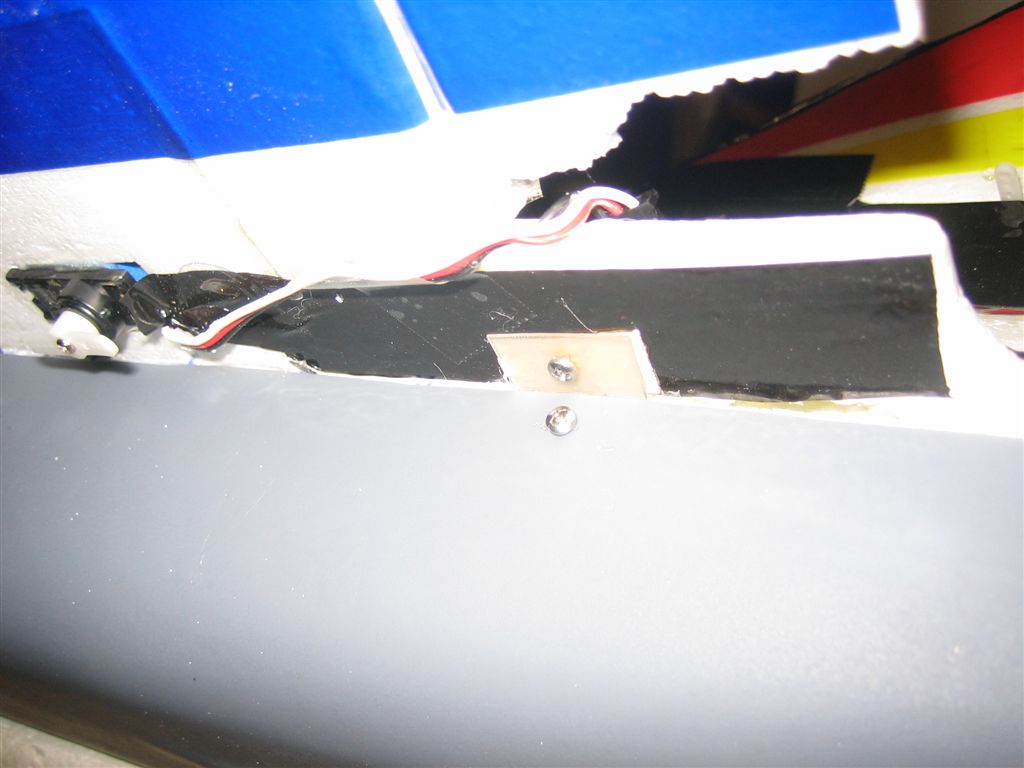
Trial fit the pan and extension with the lip attached. Make sure it fits well and install the angle brackets such that the vertical leg of the angle is on the inside of the Pan. Sand at the contact point on both the pan and the angle to assure a good hot glue joint. Mark the locations for the light ply attachment locations for the angle brackets on the fuse. One on each side 3" behind the COG seems like a good spot as that's a good grab point for launch. The rear angle brackets install at the trailng edge of the wing.
Remove a small portion of foam to receive the light ply in the main fuse - I use epoxy or hot glue here to assure a good tight bond. This is an important thing to get right, as its what holds the Belly Pan onto the aircraft. Also mark the location of the light ply bases to receive the screws at the cross bridge of the lip.
Attach the foam to the Belly Pan with double sticky back tape at the rear behind the skeg and at the front lip and anywhere you may have a slight buldge away from the foam.
Screw the whole assembly to the main fuse including a screw through the side of the Belly Pan and angle bracket/glue joints for added safety. And youre done!
And we begin to Rock! - Steady...
|
|
|
|
|
Squall Belly Pan
Full Kit
Includes BP+Ext.+Intake Lip
$36.95
Full Kit
Includes BP+Ext.+Intake Lip
$36.95
Belly Pan
Stock length
$18.95
Stock length
$18.95
Belly Pan Extension
$18.95
$18.95
Intake Lip
$7.95
$7.95
|

|
|
|
|
ESC Fairing
$10.95
$10.95
|
|

|
|
|
|
|
|
|
|
|

|

|
|

|

|
|
|
|

|
|
Made in the USA