MORGAN RC
A division of www.morganmill.com

FunCub Parts
FunCub Accessory Kit
Aileron,Flap,intake cap and side servo covers.
$29.95
Aileron,Flap,intake cap and side servo covers.
$29.95
Made in the USA

FunCub Aileron
Servo Covers
$11.95
Servo Covers
$11.95
FunCub Flap
Servo Covers
$11.95
Servo Covers
$11.95
FunCub
Rudder & Elevator
Servo Covers
$6.95
Rudder & Elevator
Servo Covers
$6.95
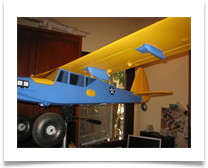
" The Quintisential RC Bush Plane"
FunCub
Air intake Cap
$5.95
Air intake Cap
$5.95
FunCub
Floor/Stiffener Kit
$16.95
Floor/Stiffener Kit
$16.95
FunCub
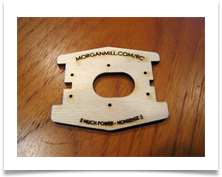
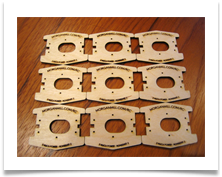
Motor Mount
Now includes Additional
Firewall
$11.95
Motor Mount
Now includes Additional
Firewall
$11.95
FunCub
Battery Cartridge
$15.95
Battery Cartridge
$15.95
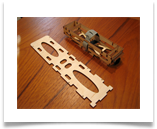
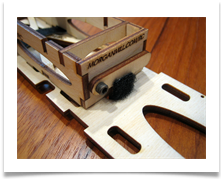
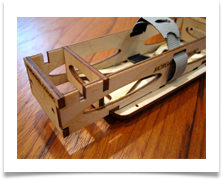
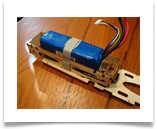
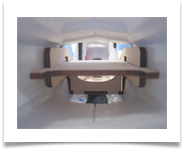
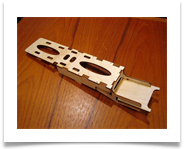
The FunCub Battery Cartridge is a retro fit installation. It fits in the slots in the Floor/Stiffener Kit. This kit in intended for those who want to install a 3 or 4 cell 2200mah - all the way up to a 3or 4 cell 3300 battery without having to wrestle the velcro on the way in or out. The FunCub Battery Cartridge slides in and locks into slots in your exsisting Floor/Stiffener system - then an attached latch is dropped into another slot in the floor to lock the cratridge into the aircraft. I recommend a small square of fuzzy velcro on the front of the tounge of the latch to prevent vibration lifting it out of the slot.
Your battery is secured while outboard of the aircraft with an included velcro strap that's easy to get to and fasten around your battery. Also included are repositionable fences for different battery sizes. Once you have your battery on COG you can choose to glue the fences in place permanently wiith epoxy or temproraly with hot glue (Alcohol debonds Hot Glue).
There will be a little wigggle room when the battery is in the cartridge so I recommend a little square of foam either in front of or behind the battery when secured in the cartridge.
It's tab and slot construction that goes together nicely with epoxy or Medium CA and kicker. It weighs 21 grams.
FunCub Battery Cartridge
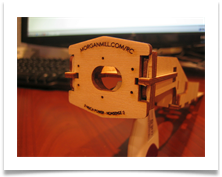
FunCub Motor Mount
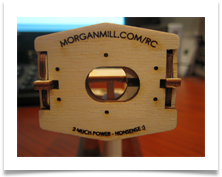
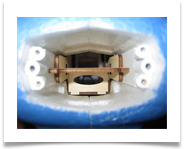
The FunCub Motor mount is a retro fit installation. It fits in the slots in the firedeck of the Floor/Stiffener Kit. This kit in intended for those who want to install an outrunner motor with the can forward and a star mount at the rear.
For those of you with an extreme case of “Big Motor-itus”
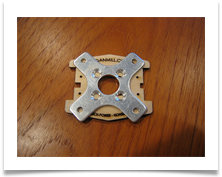
The kit now includes an Additional Firewall for the Optional Motor Mount for the FunCub Floor/Stiffener.
It will be a tight squeeze and require some foam removal but will provide more room for the larger cross mounts.
It also includes 6 small holes for screwing the firewall/cross mount/motor composite to the optional motor mount for easier R&R. You can also apply glue around the edge to adhere it to the foam for permanent installs if you wish.
There is an offset slot in the center for motors with a rear collar - you will need to do a small bit of ply removal to clear it on the OMM - be careful and don’t do too much. This slot is for offsetting the motor to center up the shaft at the front of the cowl.
For those of you who already have the optional motor mount - it retrofits onto it.
Part #7 Snap Key
The snap key is the really cool part - it's side tabs fit into the slots in the gussets - it's top tabs fit into the bottom of the fire deck - it's bottom tabs fit into the slots in the floor - this has the effect of pushing all the parts into alignment and locking all parts together.
Once you have all the parts installed it's a good idea to drizzle glue along all your joints in addition to the glue you used during the indivdual parts installation. And especially along the fire deck to existing motor rail joint on the top and bottom.
Parts #5 & 6 - Gussets
Slide the gussets onto the fire deck using the slot in the gusset as a guide. Install the side gussets inboard against the side rail doublers and in the slots in the floor.
Slide the gussets onto the fire deck using the slot in the gusset as a guide. Install the side gussets inboard against the side rail doublers and in the slots in the floor.
Parts #4 - Fire Deck
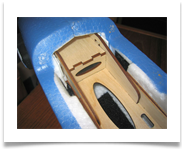
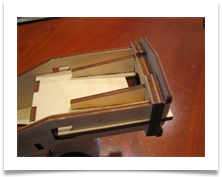
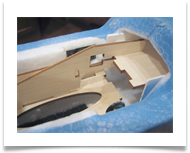
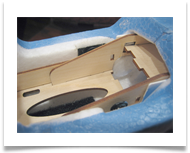
It will be necessary to remove your motor and mount. Slide the fire deck in through the front of the aircraft. It will be a tight fit as it is meant to be. You might need to sand the sides very lightly for a friction fit between the existing motor rails. Slide it in so that it matches the angle of the rails. It fits in the existing 3 sided boss near the cockpit opening.
It will be necessary to remove your motor and mount. Slide the fire deck in through the front of the aircraft. It will be a tight fit as it is meant to be. You might need to sand the sides very lightly for a friction fit between the existing motor rails. Slide it in so that it matches the angle of the rails. It fits in the existing 3 sided boss near the cockpit opening.
Parts #2 & 3 - Side rail doublers
Side rail doublers - glue these against the foam on the side of the cockpit and in the slots on the floor.
Side rail doublers - glue these against the foam on the side of the cockpit and in the slots on the floor.
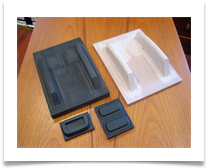
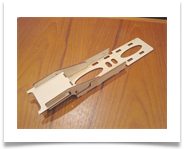
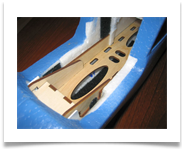
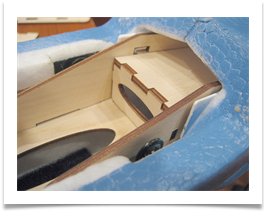
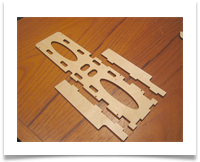
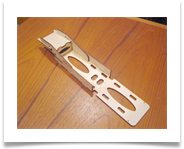
The FunCub Floor/Stiffener Kit is a retrofit installation. It will assemble in a completed aircraft like a ship in a bottle. It will also install in a new build. It weighes 1.5 ounces
It was the design intent to dampen the torsional effect and vibration some pilots are experiencing that the motor puts on the front end of the FunCub. I reccommend Foam-Tac or Epoxy for the installation glue.
I also recommend drilling and tapping the lands for the incidence adjusting screws and installing 4 additional screws and using a washer between the motor mount and the mounting rails to achieve the correct incidence for your motor and prop combination.
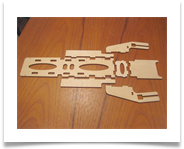
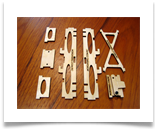
The parts will be numbered 1-7. #1 being the floor - I recommend dry fitting the parts together out side the aircraft to get a feel of what it will look like installed. Then dry fit the parts inside the aircraft to see how everything fits together then removing them and going ahead with the final install with glue.
Installation:
Part #1- Floor
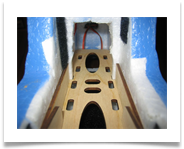
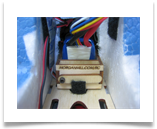
First fit the floor in the cockpit - there are two notches that index on the vertical pillars just behind the canopy. Test fit the floor for a good fit and no obstruction. The floor should sit nicely on the side rails about 1" above the bottom of the cockpit. The floor provides a space under it for installation of your ESC and other electronic equipment. It also provides slots for velcro straps to secure your battery.
FunCub Floor/Stiffener Kit
FunCub Acessory Kit
The FunCub Accessory Kit is made for the pilot that likes to fly the aircraft in less forgiving environments - over water, flying fields with tall grass and rough dirt strips. You know - The Bush!
I fly off of water quite a bit and experience has taught me that anything you can do to help keep water off the electronic parts will help you survive to tell the story of one of the best times in RC that you have ever had!
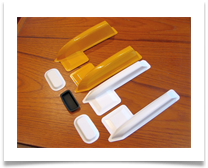
The FunCub Accessory Kit consists of a set of sleek new servo covers (aileron & Flap) Air Intake Cap (for water flying) and side wall servo covers (Rudder & Elevator).
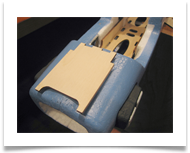
The FunCub aileron and flap servo covers were made specifically for the FunCub - they have a built in arc that matches the under side of the FunCub wing producing a form fitting aerodynamic installation. (They will also fit many other aircraft with a slight arc under wing.)
The FunCub Flap servo cover can accomodate 90 degree flaps for those who like VSTOL (very short takeoff and landing) they are wide enough to fit the control rod connector without interference and protect the servo and control rod from damage while providing a more aerdynamic profile.
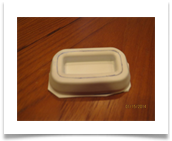
The FunCub Air Intake Cap is for those who don't want to gulp water.
Installation:
In our constant pursuit of aerodynamic efficiency and mechanical protection we use White - .040 High impact polystyrene to manufacture the FunCub Acessory Kit.
In the pictures you see what can be accomplished with a coat of paint , a pair of scissors and a piece of sand paper.
The Kit will arrive rough cut with a suggested cut line.
Glue or tape in position. You can also install it with screws for easy removal.
These servo covers / fairings can also be used for any situation where a cover is needed.
Let your imagination run wild!
